
5 min read ·
How to Install a Car Battery Without Missing Vehicle-Specific Steps
Install a 12-volt car battery safely: verify fit, follow terminal order, restore venting and complete required electronic setup.
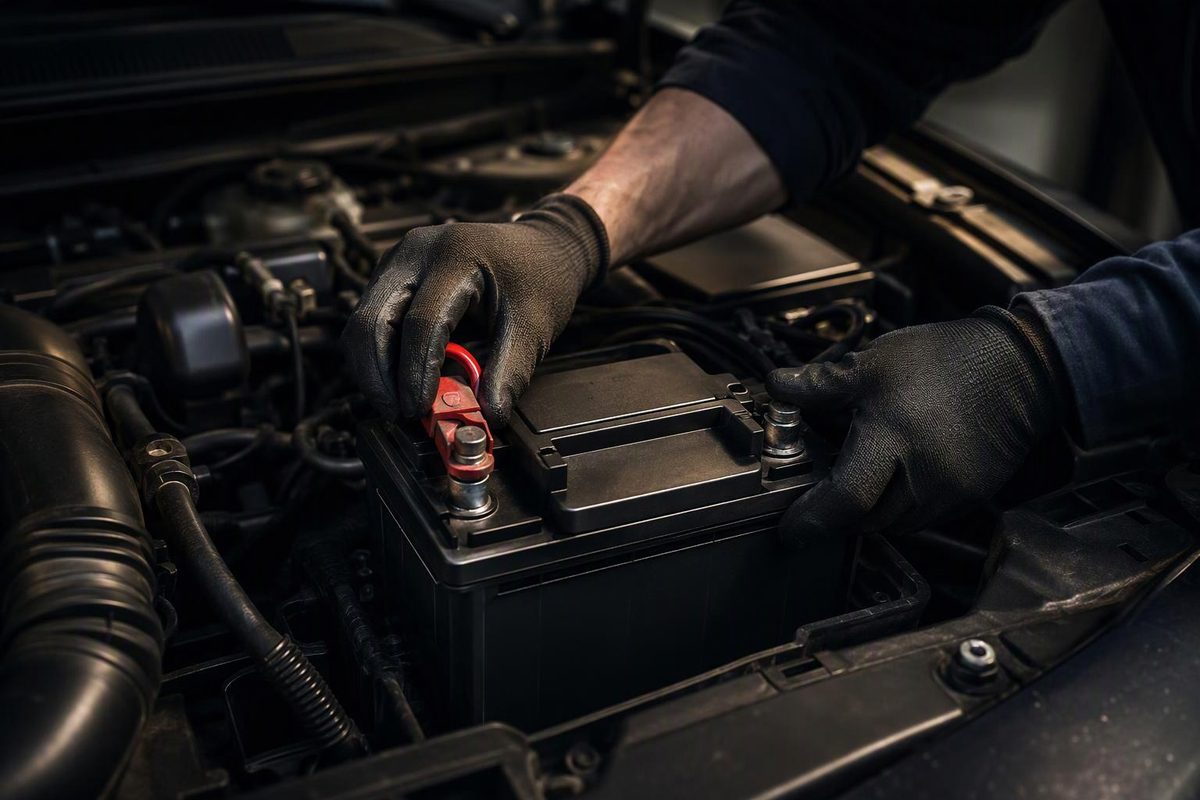
For a 12-volt, negative-ground car battery, disconnect negative first, then positive. Install and secure the replacement, then reconnect positive first, negative last. Removing the ground connection first reduces the risk of a tool shorting the positive terminal to the vehicle body. VARTA’s installation guide explains this sequence.
That order is only part of the job. Before disconnecting anything, confirm the correct battery, access procedure and electronic setup for your vehicle’s year, engine and variant. This guide covers a straightforward lead-acid battery replacement—flooded, EFB or AGM—not high-voltage hybrid/EV batteries, lithium low-voltage batteries, auxiliary-battery additions or multi-battery systems.
Before you start: confirm fit and the complete procedure
Use the owner’s manual, vehicle-specific service instructions and an exact-vehicle battery fitment catalogue. Check:
- Location and access: identify the actual battery, not just remote jump-start terminals. Confirm which covers or brackets must come off.
- Battery specification: voltage, approved technology, capacity in amp-hours where specified, and required cold-cranking amps (CCA).
- Physical fit: case dimensions, terminal type and polarity, cable reach, hold-down engagement and clearance above the terminals.
- Vent connection: confirm that the replacement accepts the vehicle’s vent hose, if fitted.
- Electronic requirements: shutdown waiting time, battery registration, coding or sensor reset, and any window or other relearn procedures.
The old battery’s label is a useful comparison, but do not assume a previous owner fitted the correct one. VARTA specifies following the vehicle manufacturer’s requirements for size and electrical ratings, and says an AGM battery must be replaced with AGM. Battery selection guidance · VARTA’s AGM guidance
Stop here if you cannot confirm fitment, safely reach and lift the battery, or complete the required electronic setup. Have a battery test performed if replacement has not yet been confirmed as necessary.
Gather tools and make the area safe
Have safety glasses, protective gloves, correctly sized sockets or spanners, a torque wrench suitable for the specified fastener torques, a terminal-cleaning tool and the approved replacement battery ready. Do not assume every car uses a 10 mm terminal fastener.
Work in a ventilated area, away from smoking, flames and sparks. Remove metal jewelry. Keep tools from bridging the battery terminals or touching the positive terminal and bodywork together. Batteries are heavy; plan an upright lift and get help if needed. R&J Batteries’ safety and replacement guide covers handling, ventilation and short-circuit hazards.
Do not attempt a routine swap on a leaking, swollen or visibly damaged battery. Arrange safe handling by a qualified shop.
Install the replacement in six steps
1. Switch off and follow the shutdown instructions
Park securely, apply the parking brake, switch off the ignition and accessories, and remove the key or keep the fob away as directed. Keep access to the battery compartment available after power is disconnected.
Wait the manufacturer’s specified time before disconnecting. For example, the 2024 Ford Bronco Sport manual requires at least two minutes because the engine-management system remains powered briefly after shutdown. That is a model-specific requirement, not a universal waiting time. Ford’s removal instructions
Do not improvise a memory-saver connection. Use backup power only where the vehicle’s procedure permits it, following the device instructions. Backup power can leave disconnected wiring energized, requiring additional precautions; R&J’s guide explicitly warns that terminals may remain live when using a memory minder. Disconnect any charger or jump pack not required by the replacement procedure. Memory-minder precautions
2. Disconnect negative, then positive
Photograph the cable routing, vent hose and hold-down. Identify the molded − and + markings rather than relying only on cable color.
Loosen and remove the negative connection first, securing it away from the post. Then remove and isolate the positive connection. Do not pull on wiring or use a battery sensor as a lever. VARTA’s terminal-order guidance
The battery itself remains energized after disconnection: never bridge its posts with a tool.
3. Remove the vent and hold-down, then lift out
Disconnect the vent hose gently if fitted. Remove the securing clamp or bracket and lift the battery upright. Keep track of mounting hardware, covers and insulating sleeves. Set the battery on a stable surface with its terminals protected from contact with metal.
4. Inspect and clean
Check the tray, hold-down, cable ends and insulation. Clean disconnected terminal clamps and remove tray debris. Stop for repairs if the mounting parts or cables are damaged or badly corroded; simply fitting a fresh battery does not fix them. R&J’s inspection checklist
5. Seat and secure the new battery
Recheck polarity before placing the battery in the tray. It should sit level, with the hold-down properly engaged and cables reaching without strain. Tighten mounting hardware to the specified torque—not an arbitrary extra turn.
Reconnect the vent hose and fit any vent-port plug required by the battery instructions. AGM does not mean an interior-mounted battery can be left unvented: OPTIMA requires outside venting for its batteries mounted in the passenger compartment or trunk. OPTIMA’s mounting guidance
6. Connect positive, then negative
Keep the ignition off. Connect positive first, restore its protective shield, then connect negative last. Seat the clamps correctly and tighten to the vehicle’s specified torque. Do not hammer clamps onto posts or overtighten them. Refit battery covers and other removed parts. VARTA · R&J Batteries
Finish the electronic setup and checks
Complete any registration, coding, battery-sensor reset and relearn procedures required for the exact vehicle. Some systems self-learn; others require a diagnostic tool or a model-specific manual reset. Do not assume that starting successfully means every required step is complete. VARTA’s battery-management explanation
For example, Ford separately specifies a battery-sensor reset for the 2024 Bronco Sport. Use the instructions for your own model rather than copying a reset sequence from another car. Ford’s sensor-reset instructions
Before starting, verify that the battery cannot shift, connections are secure, covers and venting are restored, and tools are removed. Then check starting and warning lamps. If charging warnings persist, connections become hot or no-start symptoms continue, switch off and arrange diagnosis—not repeated battery swaps.
Return the old battery to an appropriate battery retailer or recycling facility; do not put it in household trash. Keep it upright and secured during transport, with terminals protected against short circuits. VARTA’s disposal guidance · R&J’s handling precautions
If using a shop, ask whether the quote includes the correct battery specification, access labor, vent and hold-down refitting, required electronic setup, testing and old-battery disposal. Use our car battery replacement cost guide to compare the complete job rather than the battery price alone.