
6 min read ·
Replace Your Car Battery With the Right Cable Order
Follow the safe cable order for a 12-volt battery swap, check fitment and venting, and find out when registration or difficult access calls for a shop.
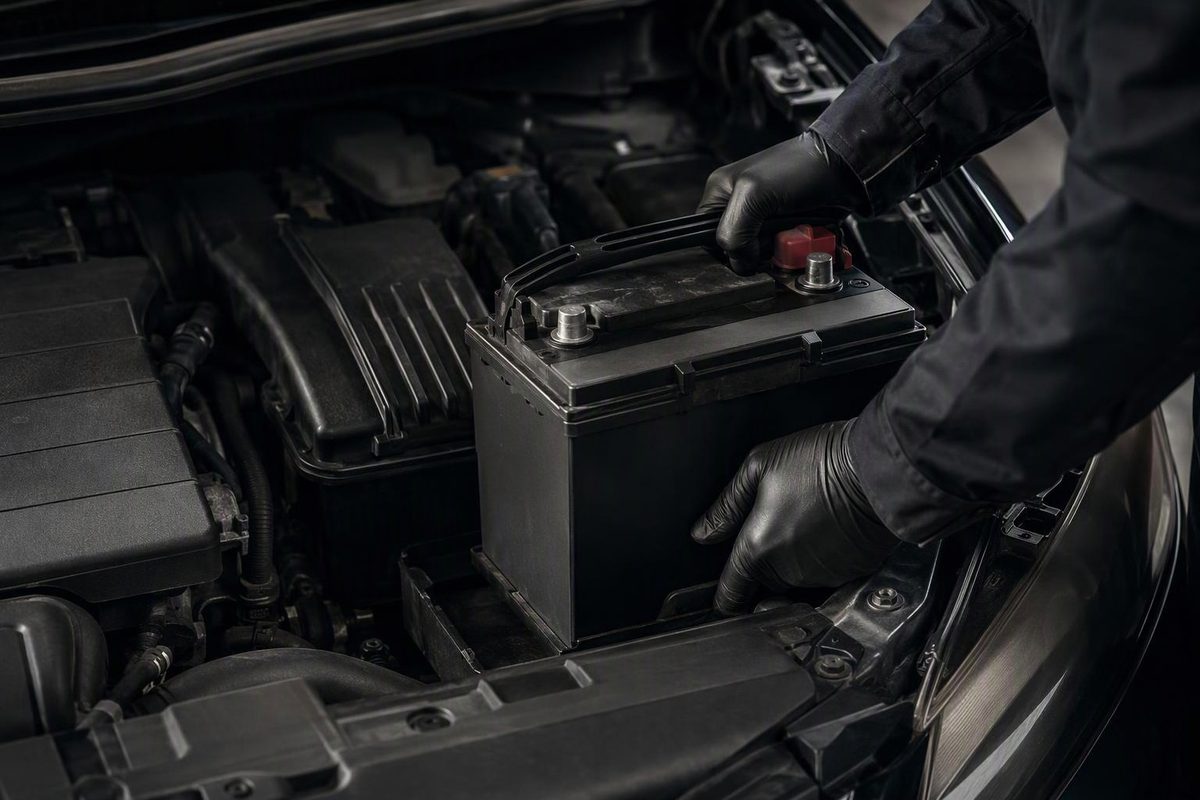
To change an accessible 12-volt lead-acid battery in a conventional negative-ground car, disconnect negative (−) first, then positive (+). Remove the hold-down, replace and secure the battery, then reconnect positive first and negative last. This cable order follows Kia’s battery replacement guidance. Follow your vehicle’s instructions for shutdown, fastener torque and any required electronic setup.
This procedure covers flooded, EFB and AGM batteries. It does not cover high-voltage hybrid or EV packs, lithium low-voltage batteries, multiple-battery systems or classic positive-ground vehicles. Even within its scope, difficult access or unavailable registration equipment can turn a simple swap into a shop job.
Select your battery system, inspection result and procedure readiness to check whether this DIY sequence fits your job.
Battery Swap Readiness Check
Do Not Disconnect Yet
Confirm the battery system, inspect the battery and access, and find the vehicle-specific replacement procedure before starting.
For the covered negative-ground system only: disconnect − then +; reconnect + then −. This order does not replace the vehicle’s instructions.
Source: the accompanying guide, using Kia cable-order guidance and VARTA replacement/setup guidance. This check cannot inspect your vehicle.
Confirm Fitment and Setup Before Disconnecting
Find the owner’s manual and, where needed, service instructions for your model year, engine, trim and market. Establish these requirements before buying or removing the battery:
| Check | What You Need to Confirm |
|---|---|
| Replacement specification | Approved technology, case/group size, terminal position, hold-down fit, starting power and capacity |
| Access | Actual battery location, not just remote jump-start terminals; required component removal |
| Shutdown | Whether a waiting period is required before disconnection |
| Electronic setup | Registration, battery-monitor reset, coding or relearning |
| Venting | Required hose, adapters and connection procedure |
Use a vehicle-specific fitment catalogue alongside the manual. Compare the installed battery too, but do not assume a previous owner fitted the correct one. AutoZone’s guide calls for a replacement matching the vehicle’s size, power and terminal requirements.
For start-stop vehicles, use the manufacturer-approved battery technology. Do not substitute an ordinary flooded battery for a required AGM or EFB; VARTA explains these replacement requirements.
If your only evidence is a no-start, have the battery tested first. A new battery will not resolve every starting fault. Use our no-crank checks before buying parts blindly.
Arrange qualified help if access requires seat/airbag work, the battery is cracked, leaking or swollen, it may be frozen, or you cannot identify the shutdown and electronic setup requirements. A swollen, hot battery can be dangerous; Interstate’s safety guidance warns that it can even explode.
Gather Tools That Fit Your Battery Hardware
For a simple top-post installation, have safety glasses, protective gloves, correct-size wrenches or sockets, a torque wrench suitable for the specified fastener torques, and a battery-terminal brush with suitable cleaning materials. Use a battery carrier if you cannot lift the battery safely by its intended handle.
Do not assume every terminal uses the same socket size. This general guide supplies no universal socket size, shutdown waiting time or torque figure; obtain those details from the vehicle’s instructions.
Remove rings, watches and other metal jewelry. Work with ventilation, away from cigarettes, flames and sparks. Batteries contain sulfuric acid and can produce explosive gases. Ford’s battery safety instructions also warn against squeezing a plastic battery case while lifting it. Wash your hands after handling the battery and terminals.
Remove and Install the Battery in This Order
1. Shut Down the Vehicle
Park on a level surface, apply the parking brake and switch off the ignition and electrical accessories. Allow hot engine components to cool. Follow the vehicle’s specified shutdown wait before touching the cables; one waiting time does not apply to every car. Keep the ignition off throughout removal and reconnection.
Record any settings or security codes the manual says you will need. Do not improvise a memory-saver connection. Use backup power only where the vehicle’s procedure permits it, following the equipment instructions.
Backup power can keep disconnected cables energized, so it requires additional precautions. Disconnect any charger or jump pack not called for by the replacement procedure.
2. Confirm Polarity and Record the Layout
Identify the + and − markings rather than relying only on cable color. Photograph the cable routing, hold-down, covers, vent connection and any sensor attached to the negative cable.
Never bridge the battery terminals with a tool. Avoid contact between the positive terminal and vehicle metal.
3. Disconnect Negative, Then Positive
Loosen the negative clamp and lift it off. Secure it away from the post so it cannot spring back into contact. Then disconnect the positive cable and protect its end from accidental contact.
With the negative ground disconnected and no backup power connected, accidental tool contact between the positive terminal and bodywork no longer has the normal ground return path through the negative cable. The battery itself remains energized: bridging its posts can still cause a short circuit.
If a clamp is stuck, use an appropriate terminal puller or get help. Do not hammer the post or force the clamp off. Avoid pulling on sensor wiring.
4. Remove the Hold-Down and Old Battery
Disconnect the vent hose if fitted, remove the retaining hardware and lift the battery out upright. Keep the hardware together. Set the battery on a stable surface where its terminals cannot touch metal.
5. Inspect and Clean the Tray and Clamps
Check the tray, hold-down and cable ends. Clean corrosion from the disconnected clamps and tray using suitable battery-cleaning materials, then dry them. Keep cleaner out of battery openings and electrical connectors. Interstate’s cleaning instructions specify keeping battery caps in place during cleaning.
Stop if a cable is frayed, a clamp is broken or the tray cannot secure the battery. Repair those faults before installation.
6. Fit and Secure the Replacement
Compare the batteries before lowering the new one into place. Technology, dimensions, polarity, mounting features and any vent connection must be correct. The cables should reach without stretching or crossing, and the terminals must have adequate clearance from metal covers or bodywork.
Reinstall the hold-down to the specified torque. Restore the vent hose and adapters as instructed. A required vent hose is a safety feature, not optional; OPTIMA stresses proper ventilation to the outside atmosphere.
7. Reconnect Positive, Then Negative
Attach and tighten the positive clamp first. Restore its protective cover, then attach the negative clamp. Use the specified torque; do not tighten until the clamp or case distorts. OPTIMA’s installation instructions specify this order and warn against overtightening.
Restore the remaining covers. Check that the battery and clamps do not move, the cables are correctly routed and no tools remain in the battery area.
8. Complete Electronic Setup and Check Operation
Carry out any required vehicle-specific battery registration, coding, monitor reset or relearn procedure. Depending on the system, this may require a compatible diagnostic tool. Other systems self-learn or permit a manual reset; VARTA documents these different approaches.
A successful engine start does not prove that electronic setup is unnecessary. Restore any required window, clock or radio settings, then start the vehicle and check for warnings.
If it still will not start, or a charging warning remains, switch it off, recheck the installation and arrange diagnosis rather than repeatedly attempting to crank it.
Return the Old Battery and Compare Complete Quotes
Keep the old battery upright and secured during transport, with its terminals protected against short circuits. In the U.S., the EPA recommends returning lead-acid batteries to a battery retailer or household hazardous-waste program, not putting them in trash or municipal recycling bins.
If you choose a shop, ask whether its quote includes the correct battery, access labor, terminal cleaning, required registration/coding/reset, diagnostic checks, taxes and any core deposit. Check the seller’s return terms for that deposit; our battery core-charge guide explains what to confirm before checkout.